Recorder (Addon)
Although we always suggest having your own, independent historian (such as PI Historian), some applications are too small or have to little budget to allow for the time and expense.
For these smaller applications, we have the ARDI recorder addin.
This allows you to record your live data to one of the supported databases, such as MySQL or MSSQL.
Installing
From your console on Ubuntu/Debian/Raspbian, type…
sudo apt-get install ardi-recorder
Enabling
You enable the recorder addon from the Addon List, in Administration.
Configuring
Once enabled, you can configure the addin from the Administration Page.
Make sure that the database you'd like to record to is already set up as a historical data source. This is where the connection and authentication details for your database will be loaded from.
Simply select which live sources you wish to connect to your existing, supported historian.
For example, if you're reading data from a live Modbus TCP data source and want to record it to MySQL, you'll need to…
1. Create the MySQL data source
2. Create the database tables (see below)
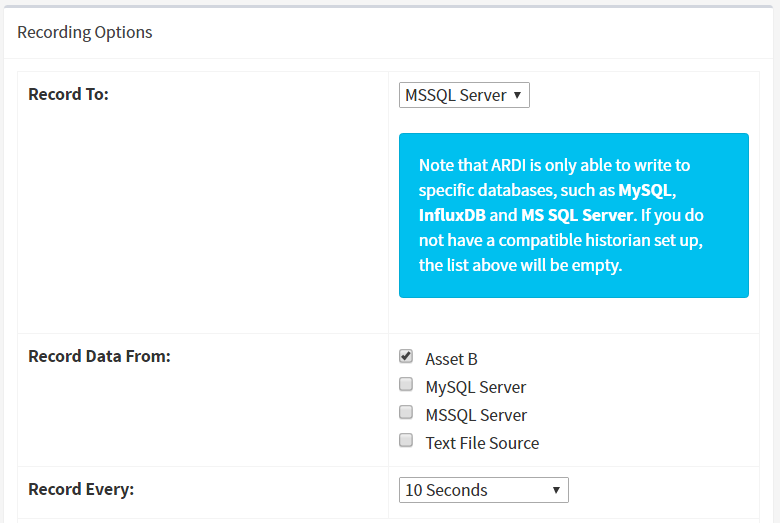
3. Choose the target database and the origin data sources from the Recording Configuration page.
For example, the configuration shown below records anything that is read from Asset A to the MSSQL Historian.
Creating the Database Tables
For SQL data sources (such as MySQL and SQL Server), you'll need to create the tables used to store the information.
Although you can create a single table, the best results require two tables and one view.
One table holds the names of your data points, one holds the values, and the view combines the two so that you can query the results easily.
